Liquid Biopsy vs. Tissue Biopsy: Pros & Cons
Biopsies play a vital role in diagnosing and managing diseases, particularly in the field of oncology. Traditionally, tissue biopsies have been the cornerstone of cancer diagnosis, providing detailed insights into tumor characteristics through direct sampling. However, advancements in medical technology have introduced liquid biopsies as a less invasive, highly dynamic alternative, capturing key biomarkers from blood and other bodily fluids. This evolution has sparked interest in understanding how these two approaches compare.
In this blog, we’ll explore the pros and cons of liquid vs. tissue biopsies, examining their strengths, limitations, and how they fit into modern healthcare and research. Whether you’re a patient, clinician, or researcher, understanding these differences can illuminate the most effective ways to diagnose, monitor, and treat diseases.

What is a Tissue Biopsy?
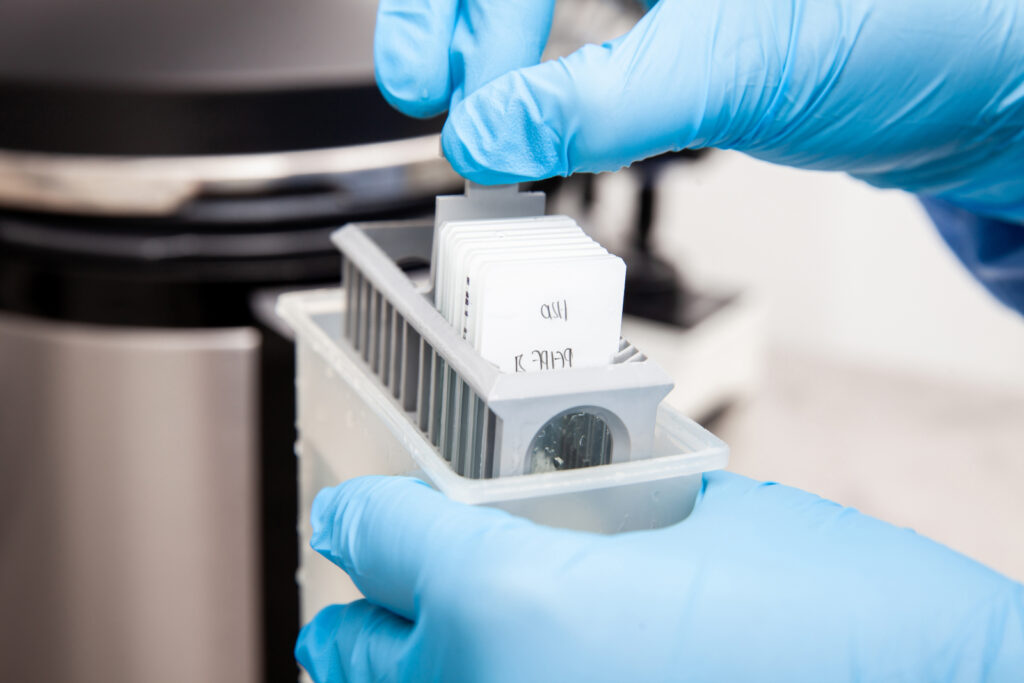
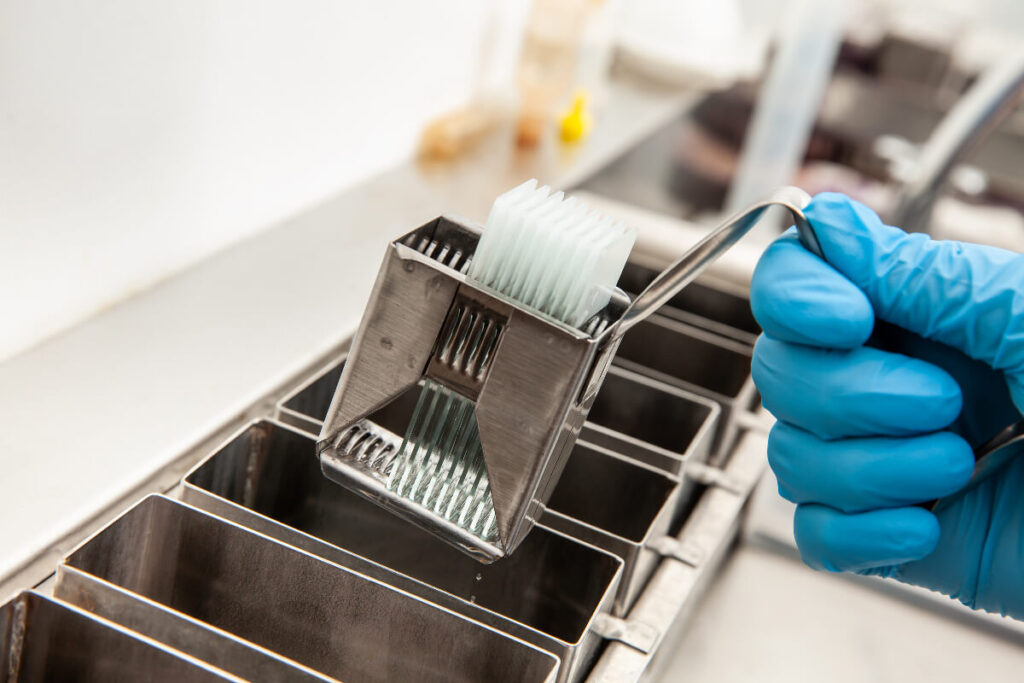
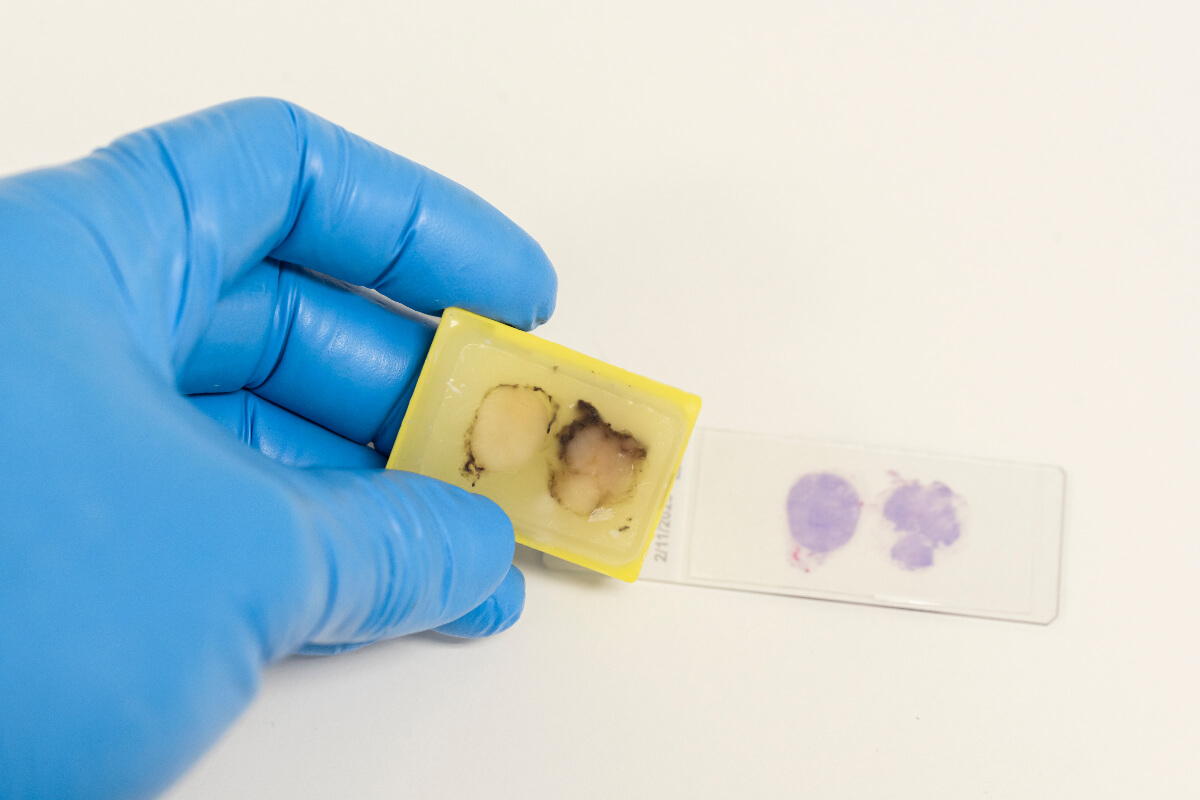
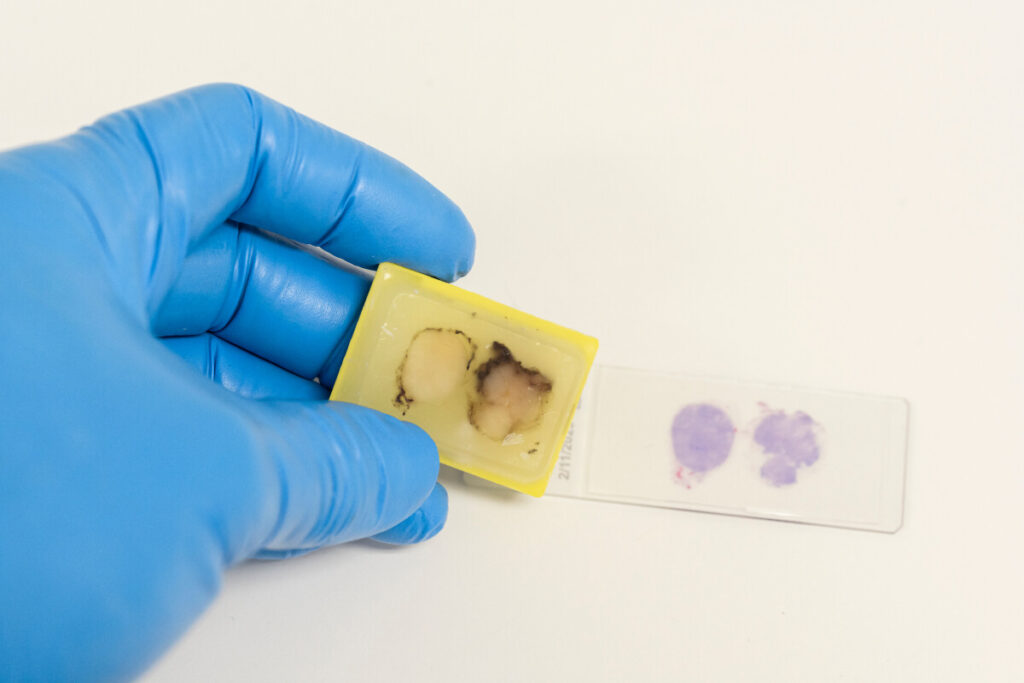
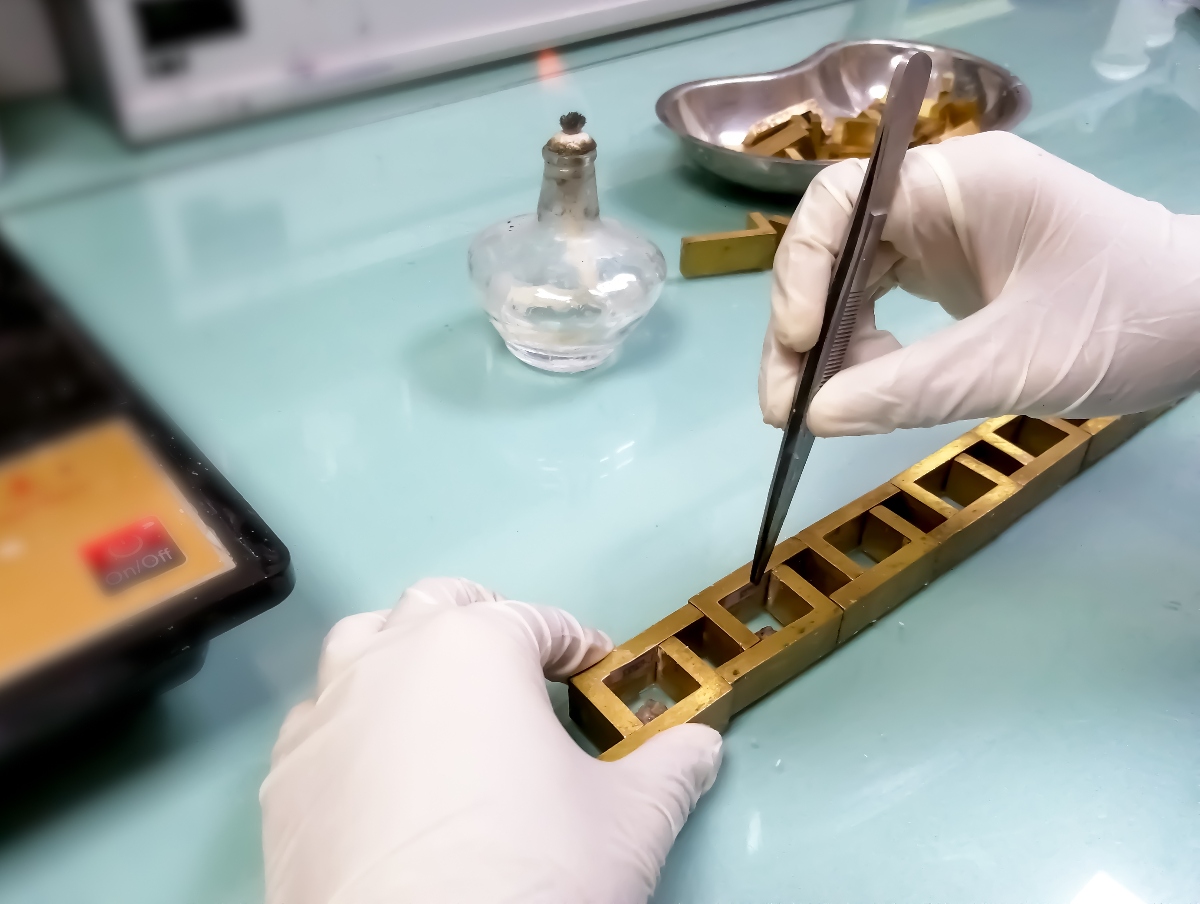
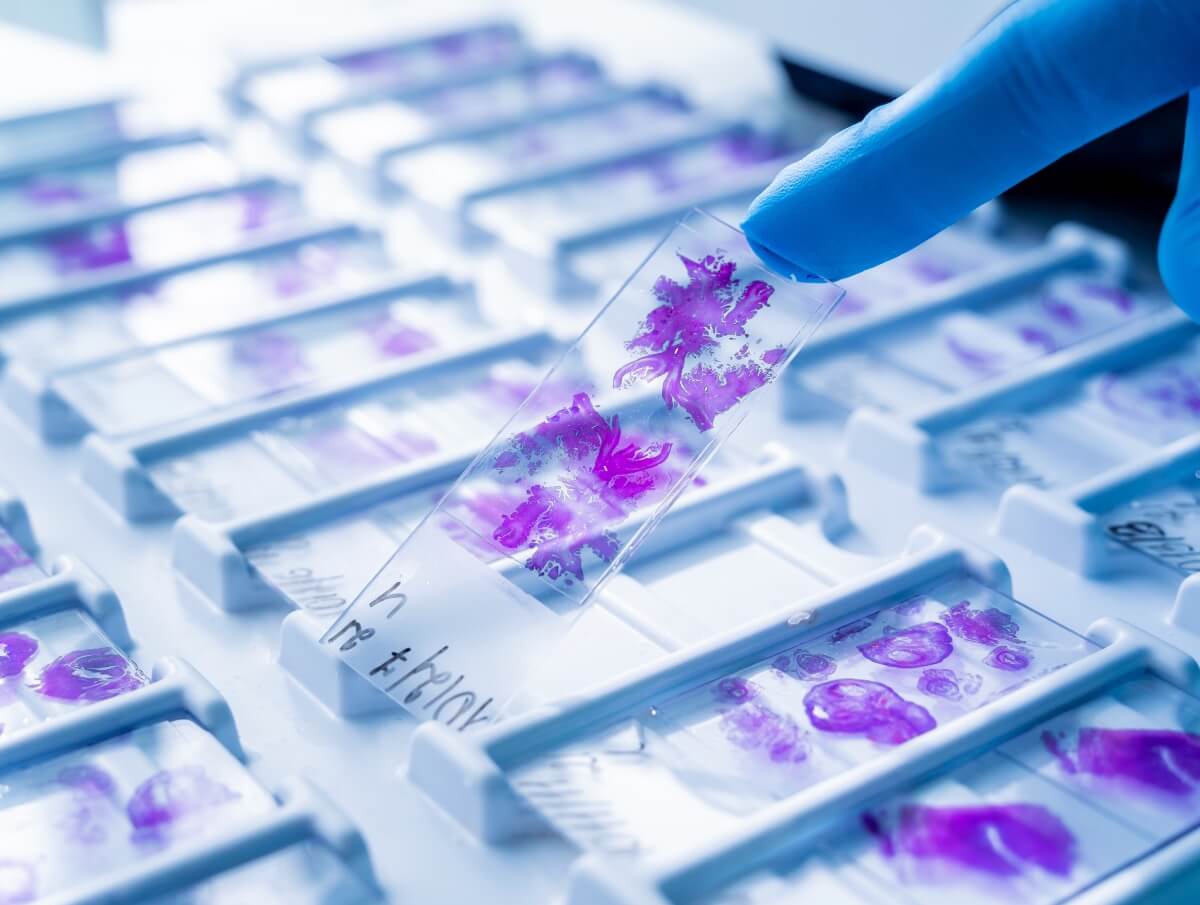
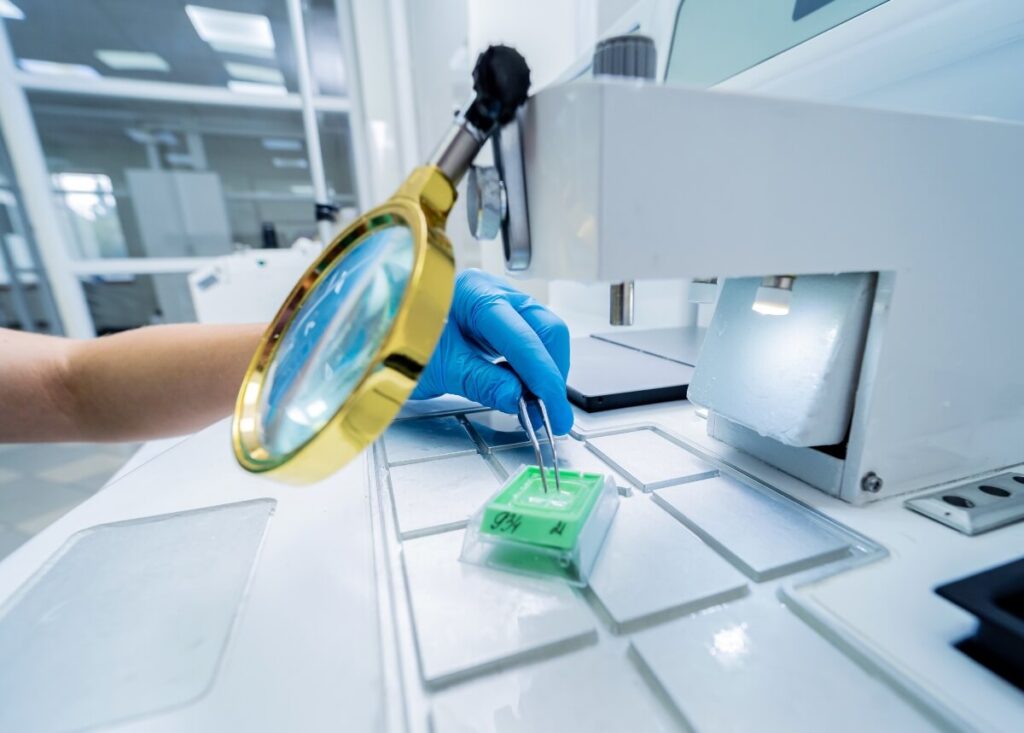
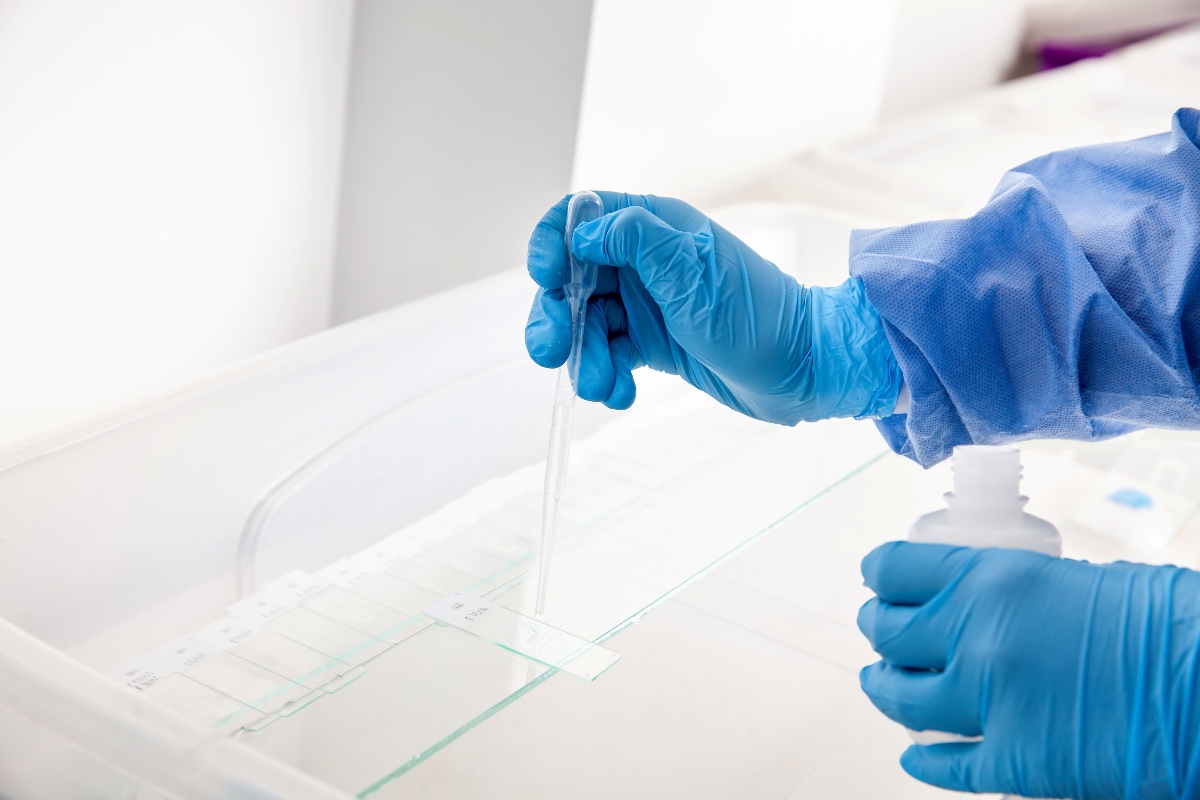
A tissue biopsy involves removing a small amount of tissue from the body for examination and is usually collected directly from a tumor or bone marrow. Often, this tissue sample is collected through a surgical procedure or a needle. After extraction, tissue samples are preserved and analyzed. Tissue biopsies are used for various diagnostic and therapeutic purposes in medicine, but especially in cancer research. Tissue biopsies help detect the presence and stage of cancer, identify specific tumor characteristics, and determine the best course of action for treatment. Additionally, tissue biopsies can help monitor disease progressions such as inflammatory bowel disease, chronic kidney disease, and cirrhosis of the liver.
Tissue Biopsy: 3 Pros & Cons
Here are the pros and cons of tissue biopsies compared to liquid biopsies:
Pros of Tissue Biopsies:
- High Diagnostic Accuracy: Tissue samples are indispensable in identifying the nature of tumors. Tissue biopsies provide researchers with a comprehensive view of a tumor’s cellular makeup, offering highly detailed information crucial for accurate diagnosis.
- Molecular and Histological Information: Tissue samples offer both molecular and histological insights, helping determine cancer type, stage, grade, and potential genetic mutations that can inform personalized treatment.
- Standard of Care: Tissue biopsies have been the gold standard in diagnostics for decades and are supported by extensive research and clinical practice guidelines.
Cons of Tissue Biopsies:
- Invasive Procedure: Obtaining specimens can be invasive and, in some cases, requires invasive surgery or other painful methods. As a result, tissue biopsies can put donors at risk of infection, internal bleeding, or a long recovery time.
- Limited Sampling: Tissue samples may not capture the full heterogeneity of a tumor, as only a small portion of biospecimen is analyzed. This limitation can impact the accuracy of understanding cancer progression.
Time-Consuming: Tissue biopsy results may take days or weeks to process, delaying treatment decisions in some cases.
What is a Liquid Biopsy?
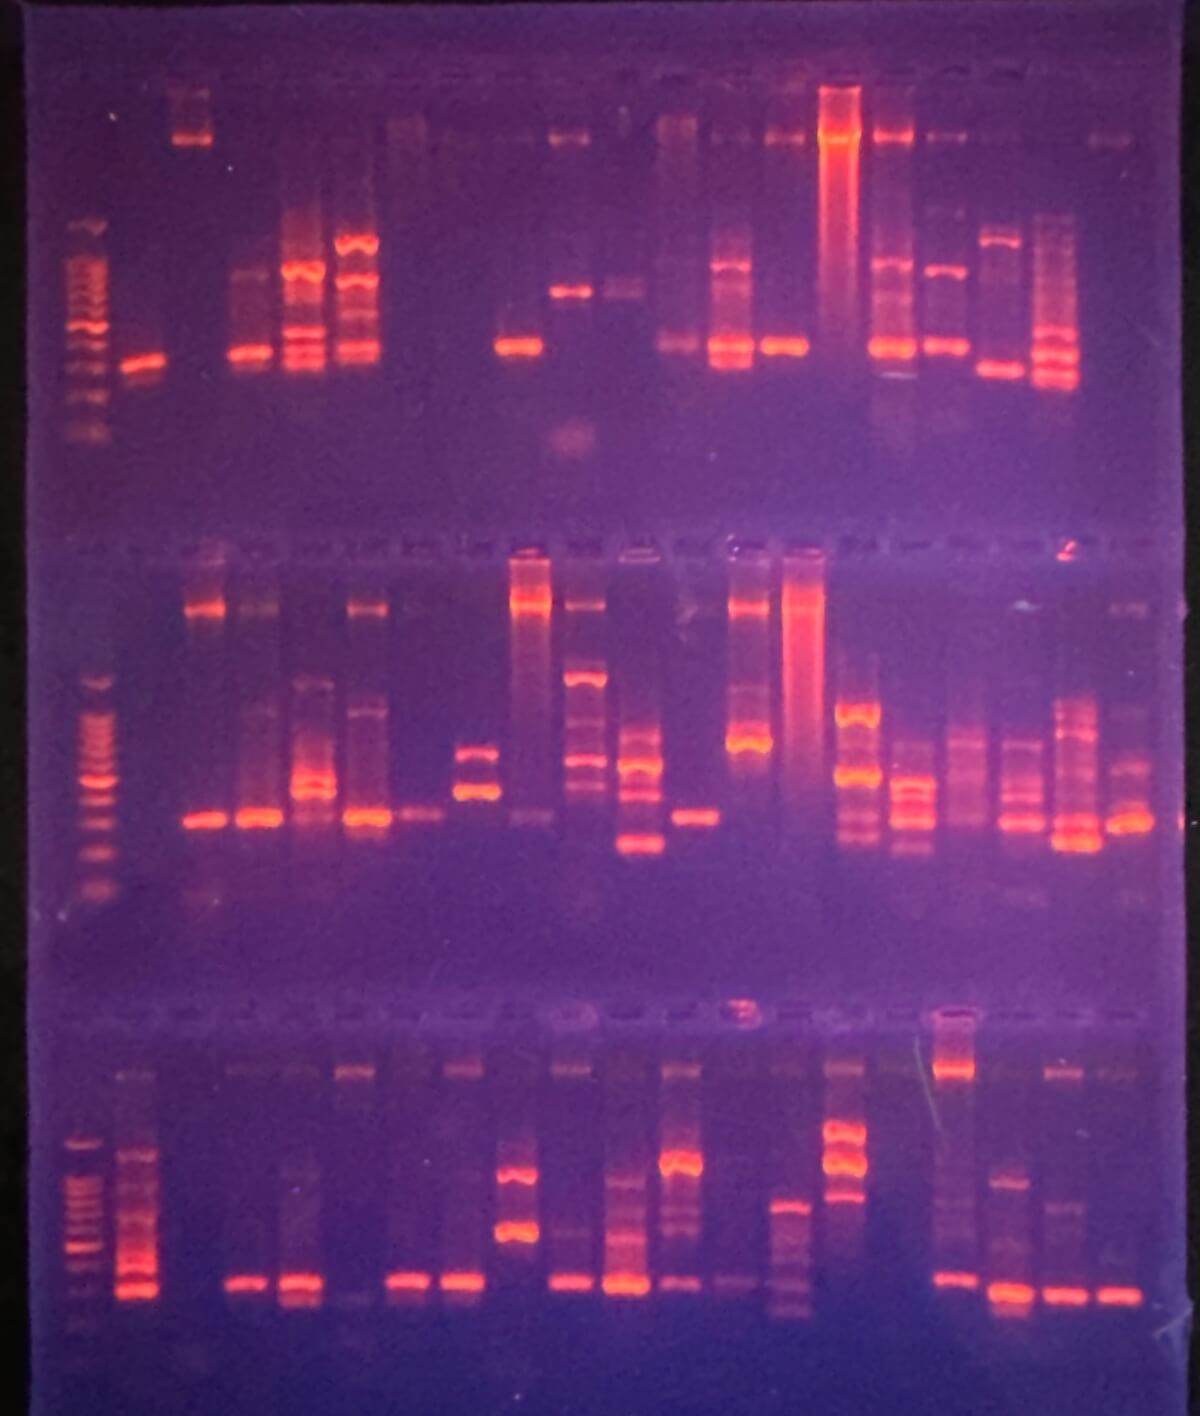
Liquid biopsies involve measuring cell-free DNA (cfDNA) in a sample of bodily fluids, such as blood. This sample can then be tested for circulating tumor cells (CTCs), DNA fragments shed by tumors (circulating tumor DNA), and other biomarkers that provide information about the cancer’s characteristics and behavior. Liquid biopsies often use non-invasive ways to collect fluid samples. For example, blood samples are drawn from the veins, urine is collected in a sterile cup, or saliva can be swabbed in the mouth. Liquid biopsies are essential for cancer detection, tumor profiling, guiding personalized treatment, monitoring treatment responses through changes in ctDNA levels, assessing tumor heterogeneity, and disease progression tracking.
Liquid Biopsy: 4 Pros & Cons
Here are the pros and cons of liquid biopsies vs. tissue biopsies:
Pros of Liquid Biopsies:
- Faster Results: Liquid biopsies can often be processed more quickly than tissue biopsies, resulting in faster decision-making for life-altering treatment.
- Minimally Invasive: The main difference between liquid vs. tissue biopsy is the level of invasiveness. Since liquid biopsies involve a simple blood draw or a swab of saliva, they are much less invasive than tissue biopsies. This can lead to enhanced patient comfort and lower risk of complications.
- Real-Time Monitoring: Liquid biopsies allow for ongoing monitoring of cancer through repeat testing, making it possible to track the effectiveness of treatments, detect potential recurrences, and monitor changes in the tumor’s genetic makeup.
- Comprehensive Tumor Profiling: Liquid biopsies have the potential to capture genetic material from multiple tumor sites, providing a more complete view of the cancer’s molecular profile.
Cons of Liquid Biopsies:
- Limited Data: While they provide molecular information, liquid biopsies do not offer histological data, which can limit their ability to fully characterize certain cancers.
- Lower Sensitivity: Liquid biopsies may fail to detect small tumors or low levels of circulating tumor DNA, potentially resulting in false negatives or incomplete and inaccurate information.
- Not Always Suitable: Liquid biopsies are not yet a suitable replacement for tissue biopsies in all cases. Certain cancers may not release enough ctDNA to be detected or analyzed accurately.
Cost Considerations: Liquid biopsies can be expensive and may not be covered by all insurance plans, potentially limiting access.
Tissue vs. Liquid Biopsy: Which is Right for You?
For researchers, choosing between tissue and liquid biopsies hinges on the particular objectives of your study, the type of data required, and the disease model in focus. On one hand, tissue biopsies offer a deep, highly detailed view of cellular architecture, histology, and tumor microenvironment, which makes them invaluable for understanding the complexity of cancer at a molecular and cellular level. This level of granularity enables precise profiling of tumor heterogeneity, exploration of gene expression patterns, and the development of targeted therapies. However, due to their time-consuming and often complex collection processes, tissue biopsies come with limitations such as invasiveness, potential sampling bias, and challenges in longitudinal studies.
Comparatively, liquid biopsies provide a minimally invasive alternative, yielding valuable insights through the analysis of circulating tumor DNA (ctDNA), circulating tumor cells (CTCs), or other biomarkers. This approach enables real-time monitoring of disease dynamics, treatment response, and the emergence of resistance mechanisms without subjecting patients to repeated invasive procedures. While liquid biopsies can capture tumor heterogeneity across multiple sites, they may lack the depth of histological data tissue samples provide and might be less sensitive for detecting certain conditions or low-burden disease states.
For researchers, combining both biopsy methods can offer a comprehensive view, balancing detailed tumor analysis with dynamic, real-time tracking of disease evolution. This ultimately leads to more robust findings and impactful therapeutic advancements.
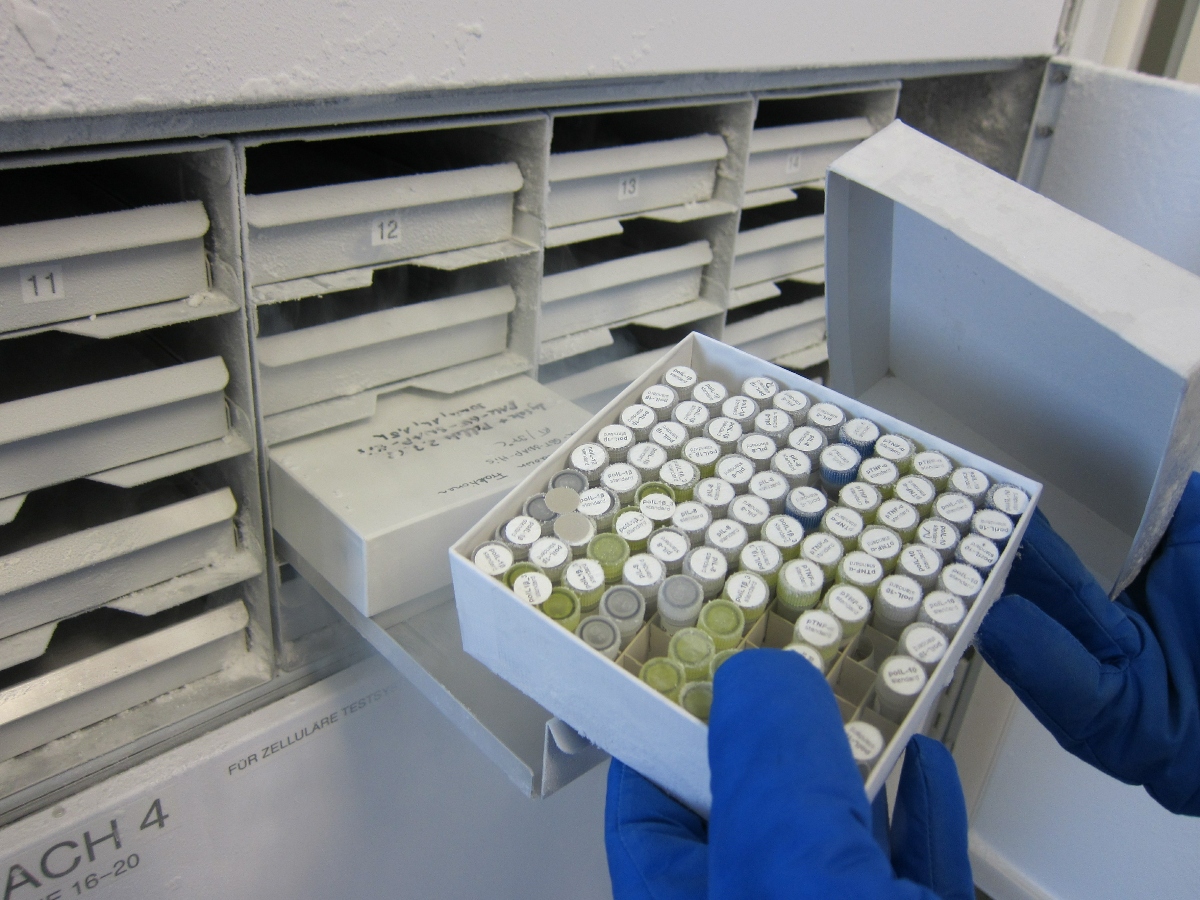
Preserved Tissue Samples for Your Research
If you need high-quality biospecimens from tissue biopsies, Superior BioDiagnostics has you covered. At our trusted biobank, we have thousands of FFPE tissue samples, whether you need normal, disease-state, or malignant samples. Our collection of biospecimens is sourced from various anatomical sites, including breast, lung, brain, muscle, skin, and more. We follow strict quality control guidelines, ensuring the tissue samples you receive are meticulously processed, accurately characterized, and of the highest quality. Our commitment to excellence guarantees reliable results for your research or diagnostic needs, helping you achieve accurate and reproducible outcomes. Contact Superior BioDiagnostics today to receive FFPE tissue samples for your research and analysis.