What is H and E Staining? A Complete Guide
Microscopic tissue analyses are essential in the fields of medicine and medical research. Staining techniques are frequently employed to enhance the visibility of cellular structures and enable differentiation between various tissue components. One of the most popular and effective methods currently in use is the H and E stain method. Keep reading to explore the complexities of H&E stains, the technique’s significance, and its applications.
H&E Stains: A Closer Look
H&E staining, short for Hematoxylin and Eosin staining, is a histological technique for visualizing cellular structures under a microscope. It provides vital information about tissue composition, cellular morphology, and pathological changes. Named after the dyes used in the process—hematoxylin and eosin—H&E stains allow easier identification and detailed analysis by dying specific tissue components with distinct colors.
How to Prepare Human Tissue for H and E Stain
The process of H&E staining involves several procedural steps, each crucial for achieving optimal results. Before a sample can undergo staining, it is prepared using methods that allow for long-term storage and examinations.
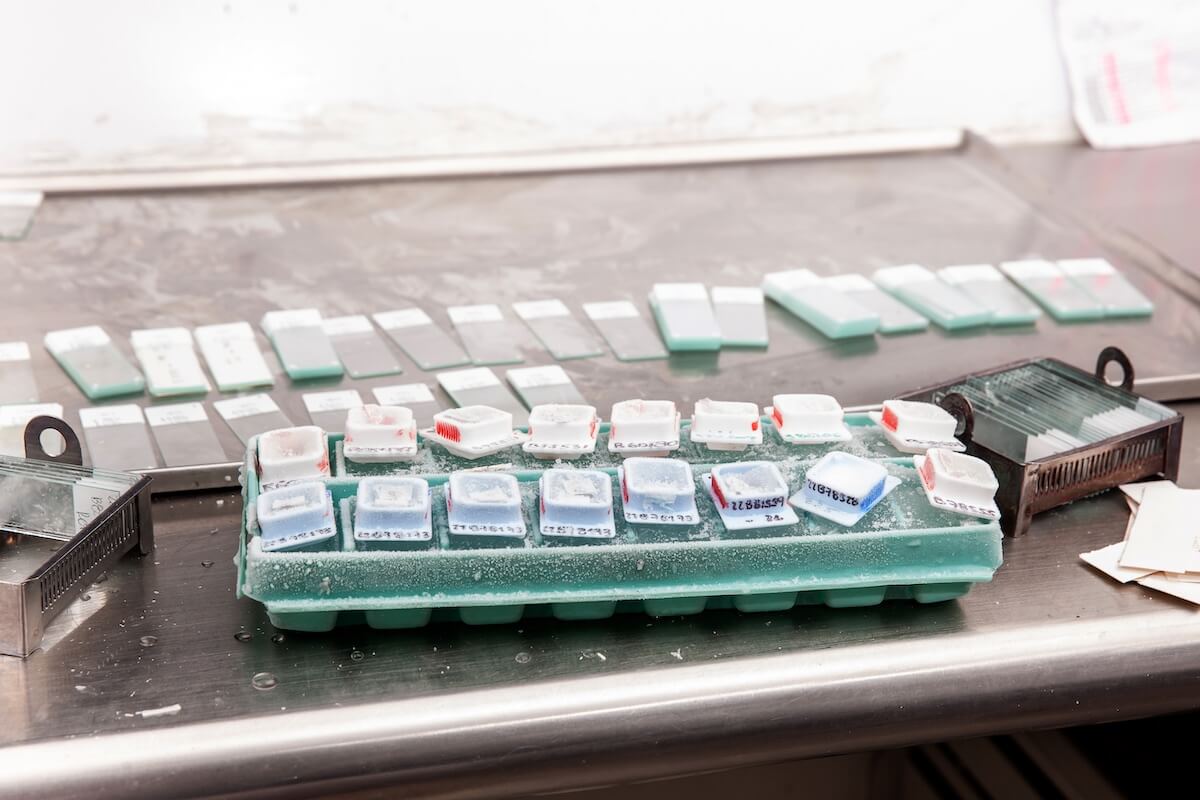
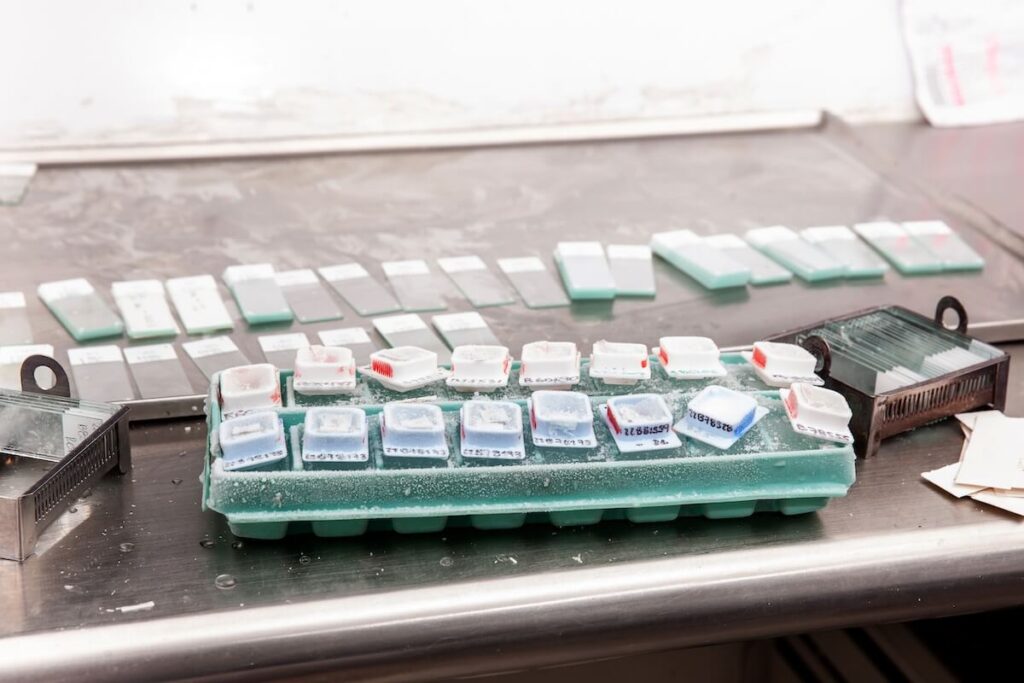
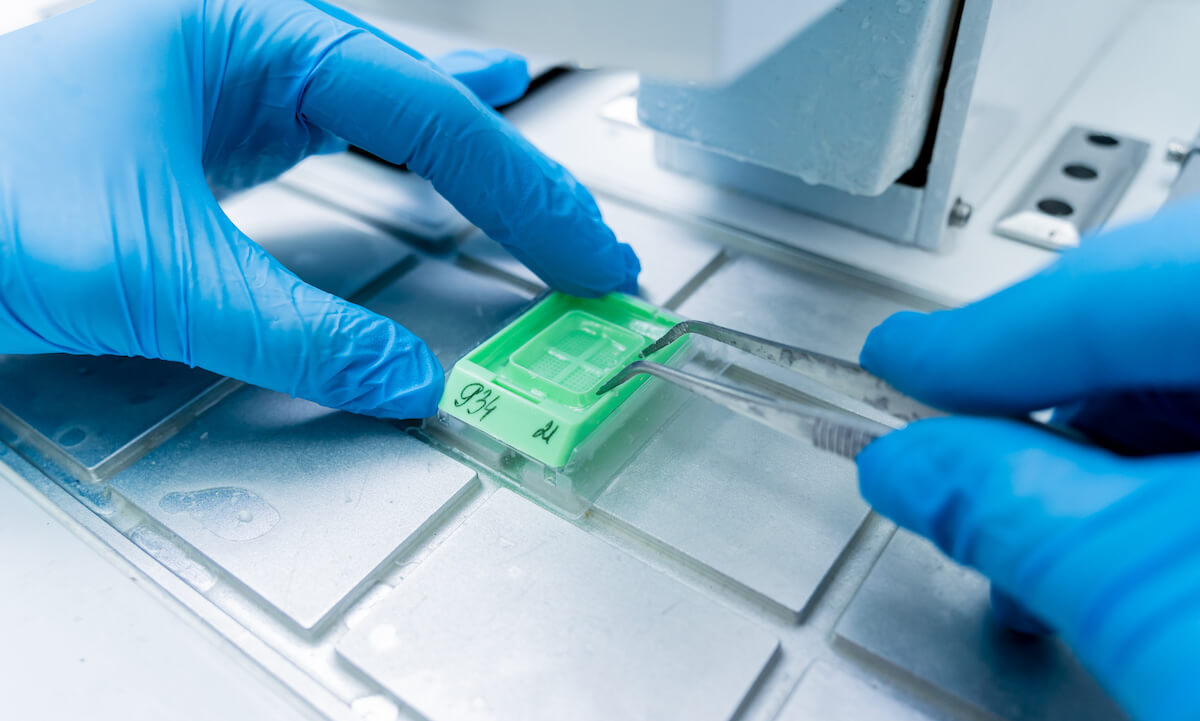
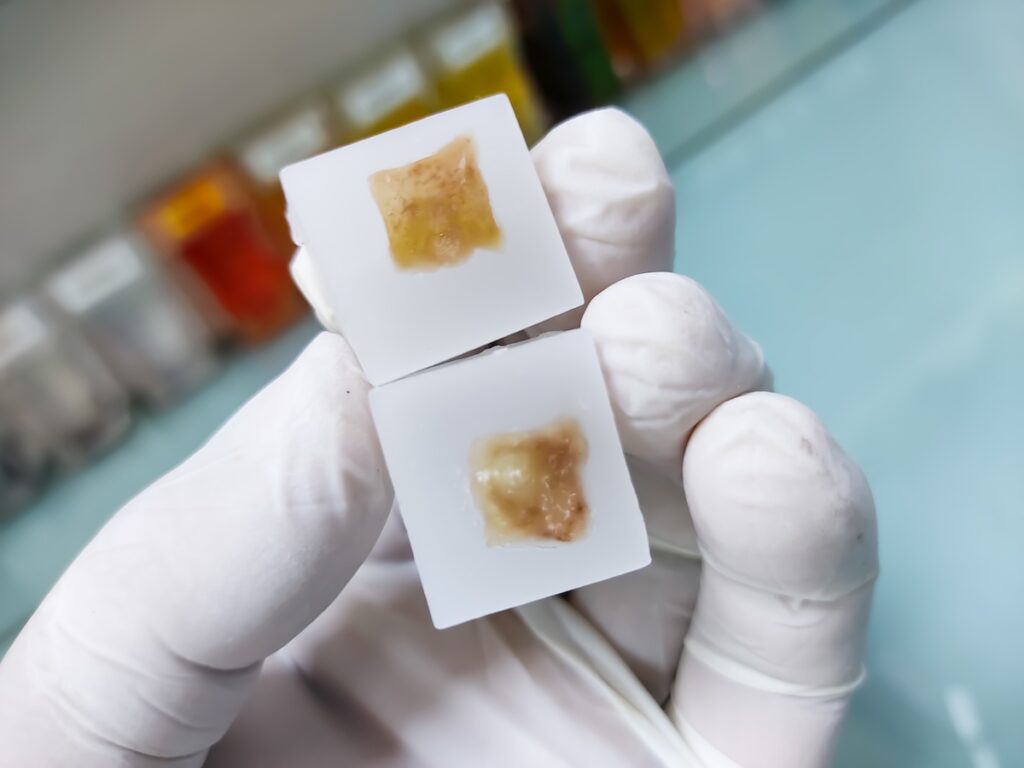
The tissue specimen, obtained through biopsy or surgical excision, is first set in a fixative solution to preserve its structure and prevent degradation. The most common fixative method is called formalin-fixed paraffin-embedded (FFPE) tissue samples. This preservation method involves dehydrating the tissue with an increasingly concentrated drying agent, formalin, which removes water molecules from the tissue, preparing it for infiltration with paraffin. The embedding process supports the tissue and allows for thin sectioning. A microtome is used to create thin sections of the embedded tissue, usually 4-5 micrometers thick. These sections are then mounted onto glass slides for staining.
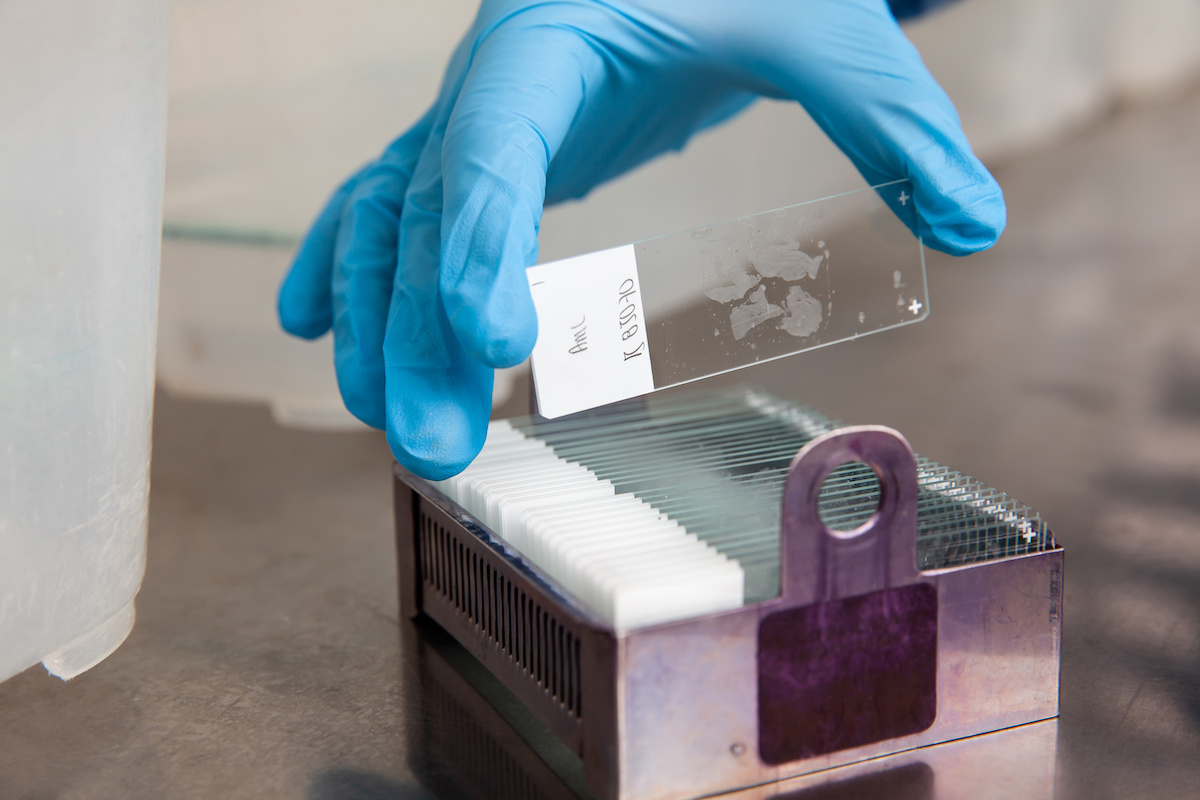
Now that the sample is preserved, a section will need to be deparaffinized before it can accept staining agents. Deparaffinization is achieved by immersing the slides in a series of xylene, a volatile liquid created by distilling wood, coal, tar, or petroleum. Xylene is a solvent that will dissolve the paraffin. Next, the sample is rehydrated through an alcohol regimen with decreasing intensity. Finally, the sample is ready for staining.
How To Apply H&E Stains in 4 Steps
- Hematoxylin Staining: The tissue sections are immersed in a hematoxylin solution, a basic dye derived from the logwood tree. Hematoxylin selectively stains acidic structures (such as nuclei), imparting a blue-purple color.
- Differentiation: After hematoxylin staining, the slides are rinsed with water or acidic alcohol, removing excess dye. This step is easy, but it is very important because it helps achieve the best contrast and definition of cellular nuclei.
- Eosin Staining: The tissue sections are then counterstained with eosin, an acidic dye that stains basic structures such as cytoplasm and extracellular matrix, turning a pinkish-red color.
- Dehydration and Mounting: Following H&E stains, the slide is dehydrated in alcohol solutions, flushed in xylene, and mounted with a coverslip using a mounting medium.
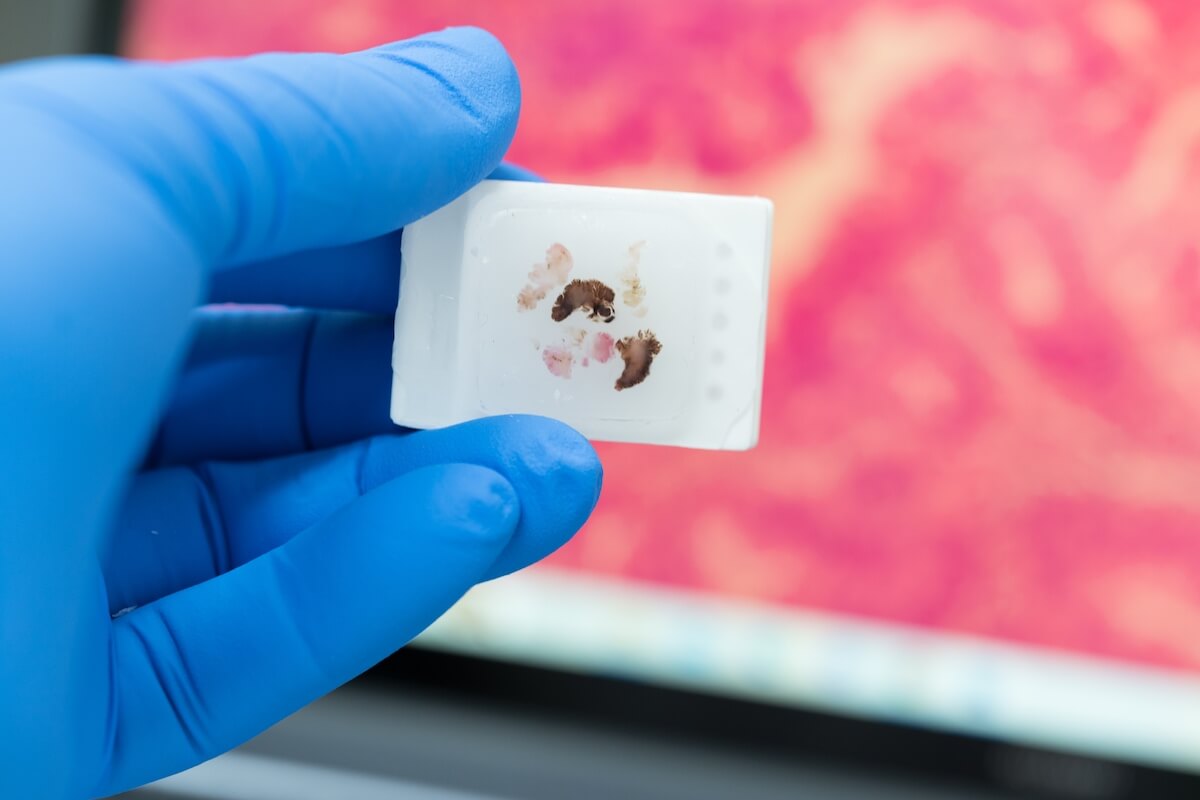
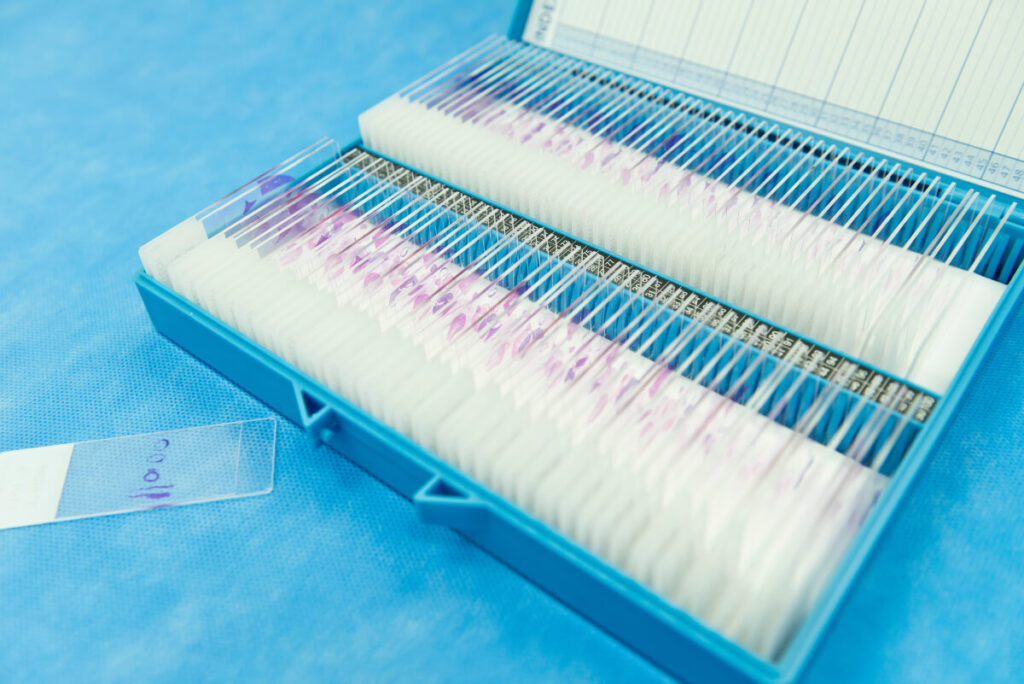
Once staining is complete, researchers are able to view structures like nuclei distinctly as a cool, blueish-purple color, clearly separated from cytoplasms and extracellular matrix, which are now dyed bright red.
Applications of H&E Stains
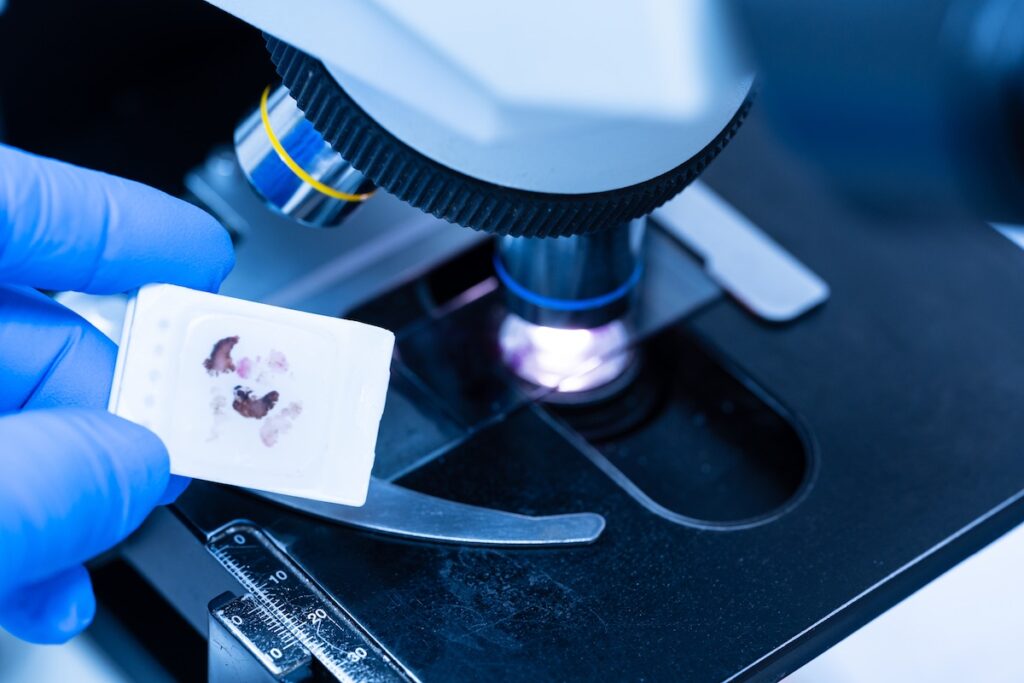
H&E staining finds widespread applications across various fields, including histopathology, biomedical research, and furthering medical education. In medical diagnostics, H&E staining is indispensable for examining tissue specimens to identify pathological changes indicative of diseases such as cancer, inflammation, and infection. The staining pattern and cellular morphology observed under the microscope aid pathologists in making accurate diagnoses.
H&E staining is a fundamental tool in biological research because it allows scientists to study tissue structure, cellular organization, and structural alterations in experimental models. It provides valuable insights into the underlying mechanisms of diseases and the efficacy of potential medical interventions. H&E stains are highly regarded by top biomedical professionals and researchers. The technique is integral to the histology curriculum in medical and life sciences education across the globe. Students learn to interpret tissue sections and recognize normal and abnormal histological features, laying the foundation for understanding disease processes and further discoveries.
Advantages and Limitations of H&E Stains
H&E staining offers several advantages, including simplicity, versatility, and ease of interpretation. The H&E staining protocol is relatively simple and cost-effective, making it accessible to laboratories large and small. H&E staining is incredibly versatile and can be applied to a wide range of tissue types and species, making it suitable for diverse research and diagnostic purposes. The distinct color contrast imparted by H&E staining facilitates easy interpretation of tissue morphology and cellular architecture under the microscope.
However, H&E staining also has certain limitations, such as interpretive subjectivity, the introduction of unwanted artifacts, and insufficient specificity in research results. Interpreting H&E-stained slides may be subjective and require expertise and experience, particularly in distinguishing subtle biological changes. Additionally, any variations in tissue processing and staining techniques can introduce artifacts, potentially affecting the accuracy of histological assessment. While H&E stains provide an overview of tissue structure, they may not always offer sufficient specificity for certain pathological conditions, necessitating additional ancillary tests.
H&E staining, with its ability to reveal intricate details of tissue architecture and cellular morphology, remains a cornerstone of histological analysis in both clinical and research settings. By employing a simple yet powerful staining technique, researchers and pathologists can gain invaluable insights into the complex world of biological tissues, paving the way for advancements in diagnosis, treatment, and understanding of human health and disease.
Quality FFPE samples for H&E Stains by Superior BioDiagnostics
Order your professional-quality FFPE human tissue samples for H&E staining from Superior BioDiagnostics today and discover the genetic secrets of tomorrow. Explore our inventory of normal and malignant samples of varying tissue types, including breast, cervical, muscle, lung, and more. Contact Superior BioDx to order your samples today.