Protein Expression: Key Insights for FFPE Sample Research
In the world of molecular biology, understanding protein expression is fundamental to unlocking the mysteries of disease mechanisms, identifying biomarkers, and developing new therapies. When working with formalin-fixed, paraffin-embedded (FFPE) samples, researchers face unique challenges and opportunities in analyzing gene expression and protein synthesis. These preserved tissue samples are a goldmine of biological information—if you know how to access and interpret them correctly.
Let’s explore the science behind protein expression, how recombinant protein expression is used in conjunction with FFPE samples, what to consider during protein expression induction, and how to overcome common obstacles in FFPE research together.

What is Protein Expression?
Protein expression refers to the process by which proteins are synthesized, modified, and regulated within living organisms. It begins at the genetic level with gene expression, where DNA is transcribed into messenger RNA (mRNA). The mRNA is then translated by ribosomes to produce specific proteins.
These proteins are the workhorses of the cell, responsible for catalyzing biochemical reactions, providing structural support, regulating cell communication, and defending against pathogens. Any abnormalities in this process can lead to serious health conditions, including cancer, autoimmune diseases, and neurodegenerative disorders.
When you analyze FFPE samples, you’re essentially looking at a snapshot of this biological process frozen in time. The key is to retrieve and interpret the data accurately despite the challenges of fixation and long-term storage.
Protein Expression in FFPE Samples
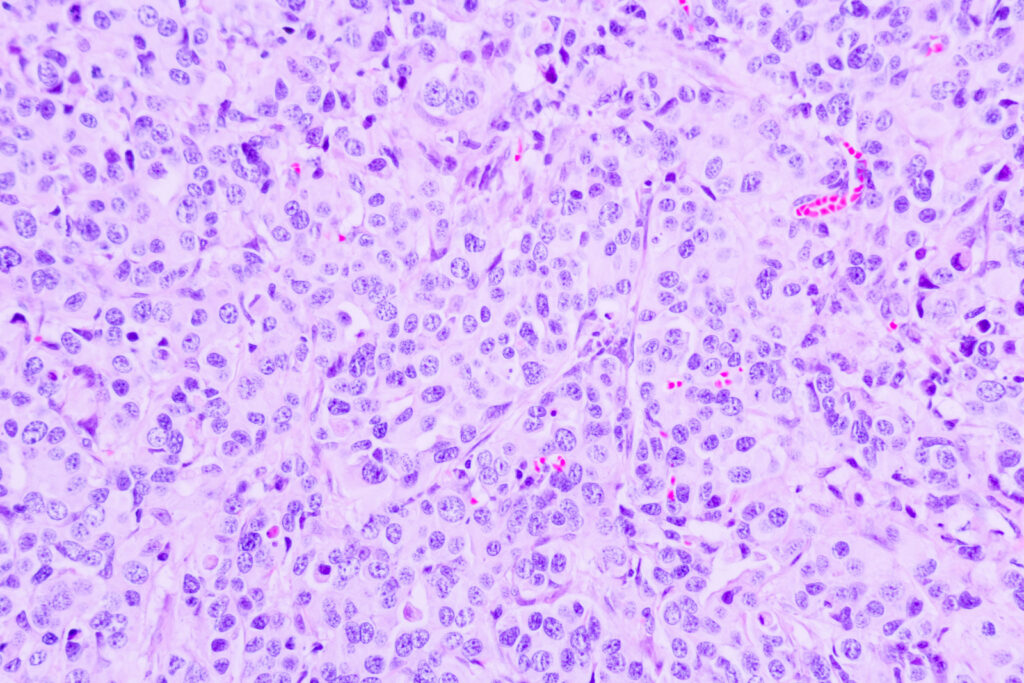
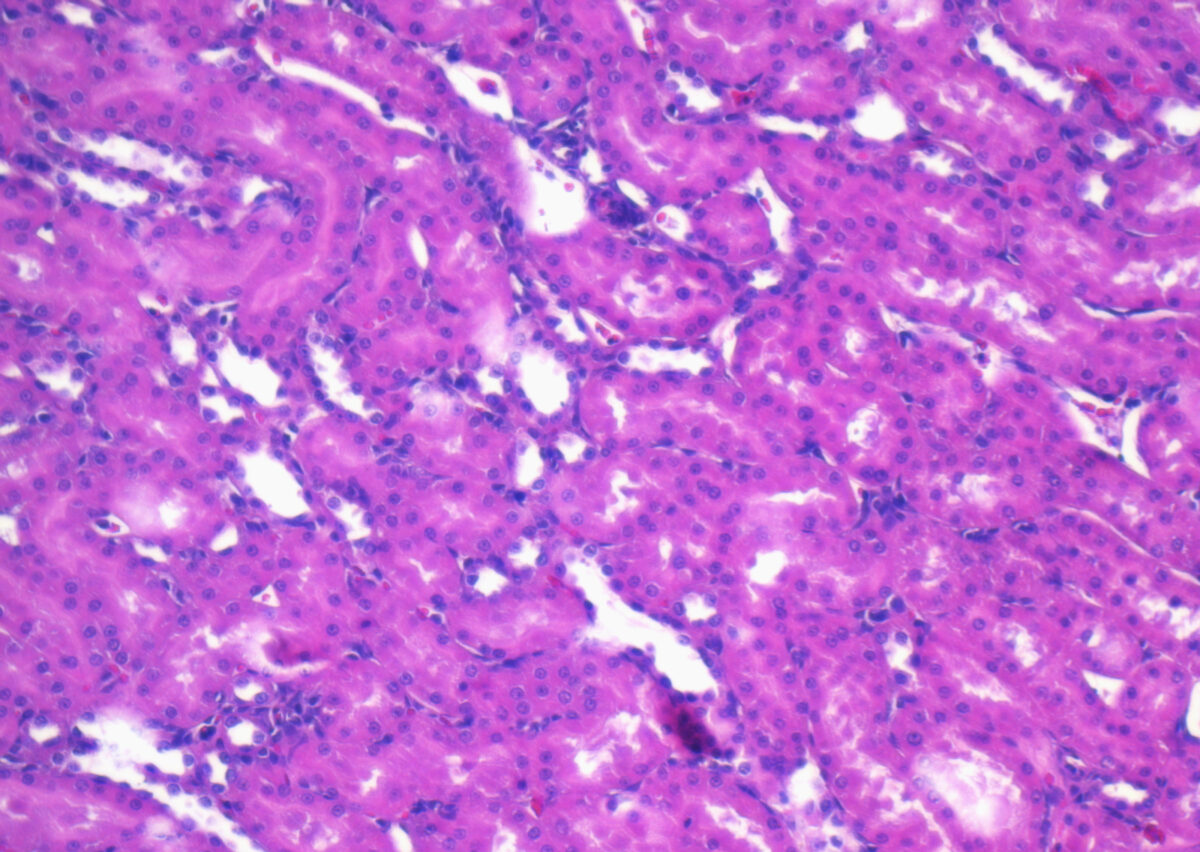
FFPE samples are widely used in research and diagnostics because they preserve tissue morphology and cellular detail over long periods. However, the formalin fixation process can cause crosslinking between proteins and nucleic acids, which may alter protein conformation and impact detection.
To accurately analyze protein expression in FFPE samples, researchers often use techniques such as:
- Immunohistochemistry (IHC) uses antibodies to detect and visualize proteins within the tissue.
- Mass spectrometry (MS) enables proteomic profiling, albeit with more preparation.
- RT-PCR and qPCR are primarily used for mRNA and offer an indirect insight into protein levels.
The selection of antibodies, antigen retrieval methods, and sample preparation protocols significantly influences the quality and reproducibility of your results.
Challenges of Protein Expression Analysis in FFPE Samples
Analyzing gene expression and protein synthesis in FFPE tissues presents several notable challenges that researchers must carefully navigate. One major issue is protein degradation, which can occur due to the long-term storage and the harsh conditions involved in the formalin fixation process. These factors can lead to partial breakdown of proteins, making them more difficult to study accurately. Additionally, epitope masking is a common obstacle. The cross-linking of protein and other cellular components during fixation can obscure important antibody-binding sites, reducing the effectiveness of detection methods like immunohistochemistry. There’s also the matter of variability in sample quality—inconsistencies in fixation time, tissue thickness, and paraffin embedding techniques can result in uneven results across different specimens.
To address these complications and ensure reliable outcomes, it’s crucial to work with high-quality FFPE samples and well-validated protocols. Professional biobanks offer rigorously tested, standardized FFPE tissue blocks that help minimize variability and enhance the consistency of protein expression analysis, giving researchers greater confidence in their results.
Recombinant Protein Expression and FFPE Research
Recombinant protein expression plays an essential role in validating findings from FFPE samples. In this method, DNA coding for a protein of interest is inserted into an expression system—commonly bacterial, yeast, insect, or mammalian cells—to produce the protein in a controlled environment.
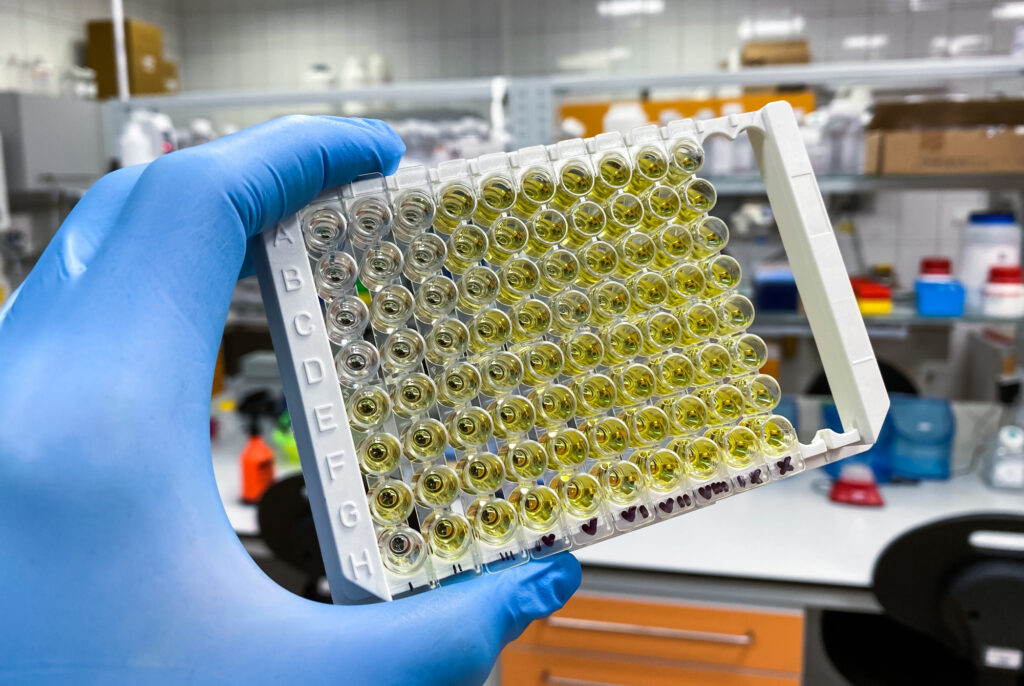
These recombinant proteins are then used as a positive control in immunohistochemistry, antibody validation, or even to generate standard curves in ELISA and other quantification assays. They provide a reference to ensure that detection methods are functioning correctly and can distinguish between true signals and background noise.
By integrating recombinant protein expression into your FFPE research workflow, you strengthen your data’s accuracy and reproducibility.
Protein Expression Induction: Timing and Technique
Protein expression induction refers to the purposeful activation of protein synthesis within a biological system, often used in recombinant systems to produce high yields of a specific protein. This process is essential when developing assays, validating antibody specificity, and comparing expression patterns across different sample types. In bacterial systems such as E. coli, this induction is typically achieved using IPTG (Isopropyl β-D-1-thiogalactopyraniside), a compound that stimulates transcription of the target gene. In mammalian cells, more complex methods like tetracycline-regulated systems or viral vectors are often employed to ensure tighter control over gene expression.
When researchers work with FFPE tissues, samples derived from induced protein expression systems can serve as powerful benchmarks. These references are especially valuable when evaluating whether protein levels observed in FFPE samples are biologically relevant, determining the specificity of antibodies used in immunohistochemistry or western blotting, and assessing the behavior of proteins under controlled versus native tissue conditions. Such comparisons provide critical validation points, enabling researchers to interpret protein expression data with greater confidence, especially in studies related to disease progression, treatment response, or the unraveling of molecular mechanisms.
Key Considerations for FFPE Protein Studies
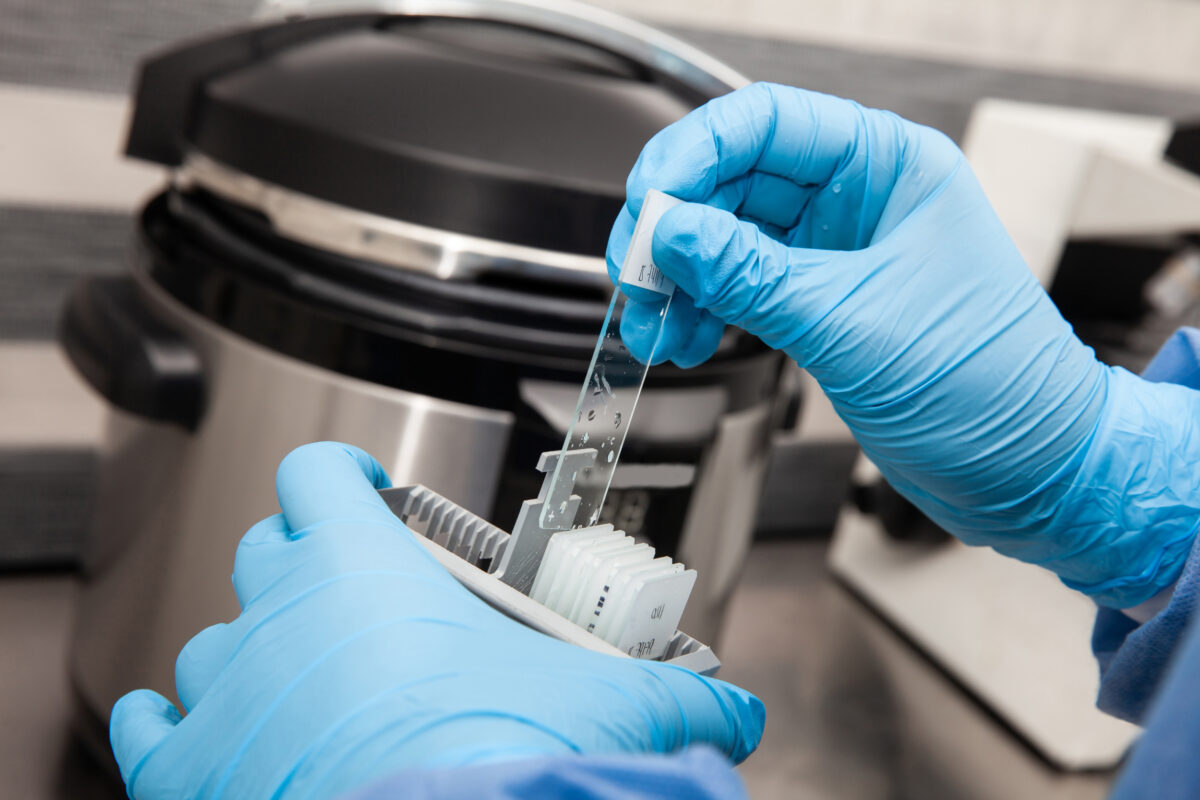
When performing protein expression research with FFPE tissues, ensuring accuracy and reproducibility requires careful attention to technique. One of the most important practices is to standardize sample handling; consistency in fixation time, tissue size, and embedding protocol helps minimize variability between samples. Equally important is the use of validated antibodies—specifically those proven to work effectively with FFPE samples—to ensure that staining results are both specific and reliable.
To overcome these effects of epitope masking caused by formalin fixation, optimizing antigen retrieval methods is essential. Techniques such as heat-induced epitope retrieval (HIER) or enzymatic treatments can help unmask hidden epitopes and improve signal detection. Incorporating proper controls (both positive and negative, including those from recombinant protein expression systems) adds another layer of confidence, helping to validate both antibody performance and staining protocol.
High sample quality is a foundational element of any successful FFPE study. Working with a trusted supplier ensures access to well-characterized, thoroughly tested FFPE tissue blocks. For researchers seeking even more comprehensive insights, integrating multiplexing techniques allows for the simultaneous detection of multiple proteins in a single sample, opening new possibilities in the study of complex signaling networks or disease biomarkers.
The Link Between Gene Expression and Protein Synthesis
Understanding the relationship between gene expression and protein synthesis is critical, especially in FFPE research. While mRNA levels can indicate potential protein production, post-transcriptional modifications, translation efficiency, and degradation rates, all impact the final protein output.
Therefore, analyzing both gene and protein expression provides a fuller picture of cellular function. For instance, RT-qPCR can reveal changes in mRNA expression, while IHC or mass spectrometry confirms whether these changes translate into altered protein levels.
By taking a dual approach, you can cross-validate your data, identify discrepancies, and gain deep insights into molecular pathology.
Advance Your Protein Expression Research with High-Quality FFPE Samples
Protein expression analysis in FFPE tissues is a powerful tool for biomedical research. When approached with care and precision, it opens the door to breakthroughs in understanding disease mechanisms, identifying therapeutic targets, and advancing personalized medicine.
Despite the technical challenges, advancements in recombinant technology, antigen retrieval, and antibody validation are making FFPE studies more robust than ever. The key lies in using high-quality samples, validating reagents, and a thorough understanding of protein expression induction, gene expression, and protein synthesis pathways.
When accuracy matters, starting with the right sample makes all the difference. At Superior BioDiagnostics, we offer expertly prepared FFPE tissue blocks, including normal, malignant, and diseased samples across a wide range of anatomical sites. Whether you’re validating protein targets, analyzing tissue-specific expression, or developing diagnostic tools, our samples deliver the consistency and reliability your research demands.
Enhance your studies in protein expression with the confidence that comes from using trusted, high-quality materials. Explore our FFPE catalog today and take the next step in unlocking powerful biological insights.